You must be logged in to view this content.
Author: smithcreekfarmstead
-
Pumpkin Spice Latte
You must be logged in to view this content.
-
Luffa Soap Recipe
You must be logged in to view this content.
-
Green Tea Soap Recipe
You must be logged in to view this content.
-
Pink Himalayan Salt Soap Recipe
You must be logged in to view this content.
-
Keep the Bugs at Bay: DIY Bug Spray Recipes for Adults & Kids

Summer nights, backyard BBQs, hiking trails—nothing ruins a good time like pesky mosquitoes and biting bugs. While store-bought bug sprays often contain harsh chemicals like DEET, you can make your own natural alternatives right at home. These DIY bug sprays are simple, effective, and made with ingredients you probably already have on hand or can easily find.
Let’s dive into two recipes: one for adults that packs a strong herbal punch, and one that’s gentle enough for the little ones 2+.
🧴 Bug Off, Y’all! – DIY Bug Spray for Adults
This blend uses essential oils known for their bug-repelling powers. It’s strong, long-lasting, and smells herbaceous and fresh—not like chemicals in a can.
Ingredients:
• ½ cup witch hazel (alcohol-free)
• ½ cup distilled water
• 10 drops citronella essential oil
• 10 drops patchouli essential oil
• 10 drops lavender essential oil
• 5 drops tea tree oil
• 5 drops cedarwood essential oil
Instructions:
1. Combine all ingredients in a 4 oz spray bottle (amber glass or PET plastic is best).
2. Shake well before each use.
3. Spray on exposed skin and clothing, avoiding eyes and mouth.
Upcycle Tip: If you’ve used our magnesium spray, don’t toss that bottle—give it a second life as your new bug spray bottle. It’s the perfect upcycle!
🌿 Proven Essential Oil Blends That Keep Bugs Away
If you’re looking to switch it up or use what you’ve already got in your stash, these five blends are a few more traditional herbal alternatives. Mix up one of these combos in the same base recipe (½ cup witch hazel + ½ cup water) and use about 30-40 total drops of essential oils per 4 oz spray bottle.
1. Classic Powerhouse Blend
• 10 drops citronella
• 10 drops lemon eucalyptus
• 10 drops lavender
2. Deep Woods Protection
• 10 drops cedarwood
• 10 drops patchouli
• 10 drops clove
3. Sweet & Strong
• 10 drops geranium
• 10 drops lavender
• 10 drops peppermint
4. Bright & Defensive
• 10 drops lemongrass
• 10 drops tea tree
• 10 drops lemon eucalyptus
5. Spicy & Long-Lasting
• 10 drops clove
• 10 drops cinnamon leaf
• 10 drops cedarwood
🧸 Lil’ Bug Bouncer – Kid-Safe Bug Spray
Kids’ skin is more sensitive, so this gentle version skips the stronger oils while still keeping bugs at bay.
Ingredients:
• ½ cup witch hazel (alcohol-free)
• ½ cup distilled water
• 10 drops lavender essential oil
• 8 drops geranium essential oil
• 6 drops lemon balm essential oil (or use a cooled lemon balm tea as your water base)
• 4 drops chamomile essential oil (optional but soothing!)
Instructions:
1. Add ingredients to a 4 oz spray bottle.
2. Shake well before each use.
3. Apply to clothing or skin (avoid face and hands with young kids).
Safe for kiddos 2 and up. For babies under 2, use gentle hydrosols (like lavender or chamomile) sprayed on clothes, blankets, or stroller canopies instead of direct skin application.
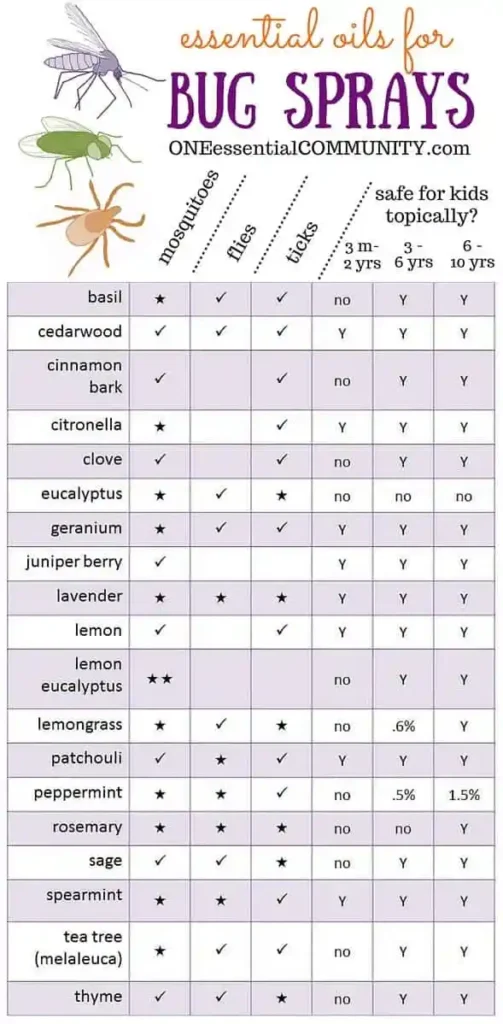
Want learn more about specific essential oils best for DIY bug spray? Check out the chart below created by https://oneessentialcommunity.com/
🌱 Why Go Natural?
Natural bug sprays are:
• Free from harsh chemicals
• Gentle on skin
• Customizable in scent and strength
• Budget-friendly and sustainable
• Easy to make at home with minimal tools
Whether you’re heading to the garden, camping in the woods, or just sipping sweet tea on the porch, these natural bug sprays help keep your skin bite-free—and smelling good while you’re at it.
✨ Final Notes:
• Always patch test any new product on a small area of skin.
• Store your spray in a cool, dark place and shake before each use.
• Essential oils are powerful—use caution around pregnant women, infants, and those with sensitivities.
Hope you enjoy!
-Smith Creek Farmstead Family
⚠️ Disclaimer:
This content is for informational and educational purposes only and is not intended as medical advice. Always consult your healthcare provider before using essential oils, especially if you are pregnant, nursing, have a medical condition, or are using this spray on young children. Every body is different, and what works for one person may not be suitable for another.
This is for informational and entertainment purposes only and should not be taken as medical advice. Products mentioned in this article have not been evaluated by the FDA. These products and information on this page are not intended to diagnose, treat, cure, or prevent any disease. This website is not a substitute for professional care. Always consult your medical doctor regarding your medical care. Never disregard professional medical advice or delay in seeking it because of something you have read on this website.
-
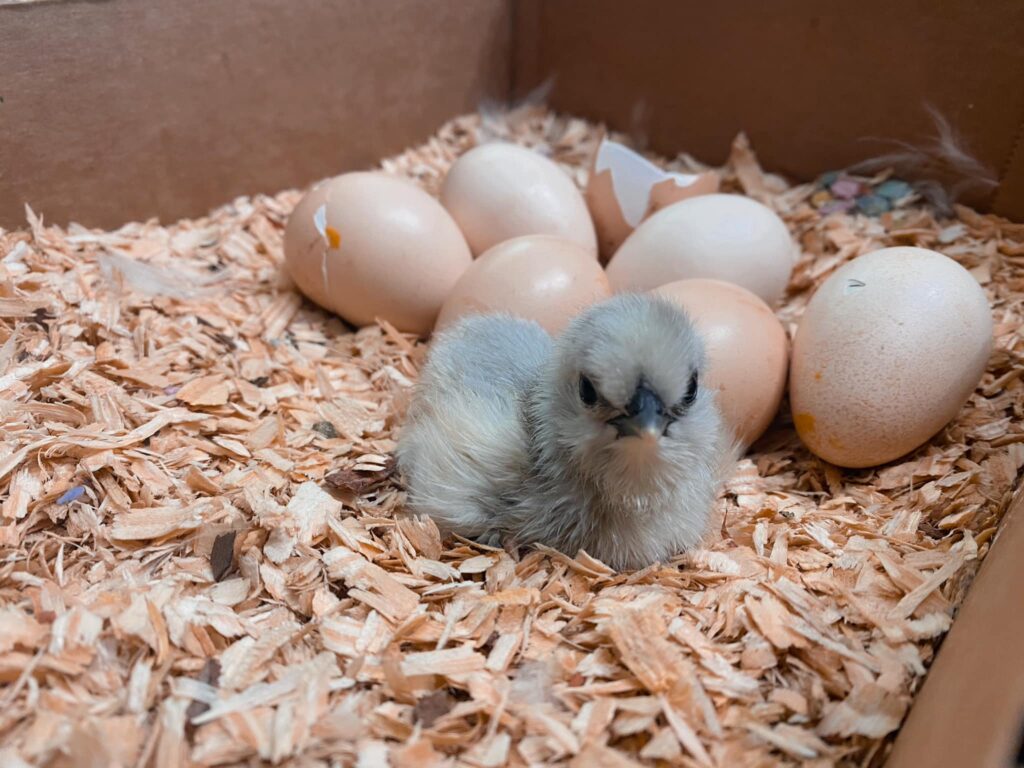
How to Care for Day-Old Chicks: A Beginner’s Guide from Hatch to Henhouse
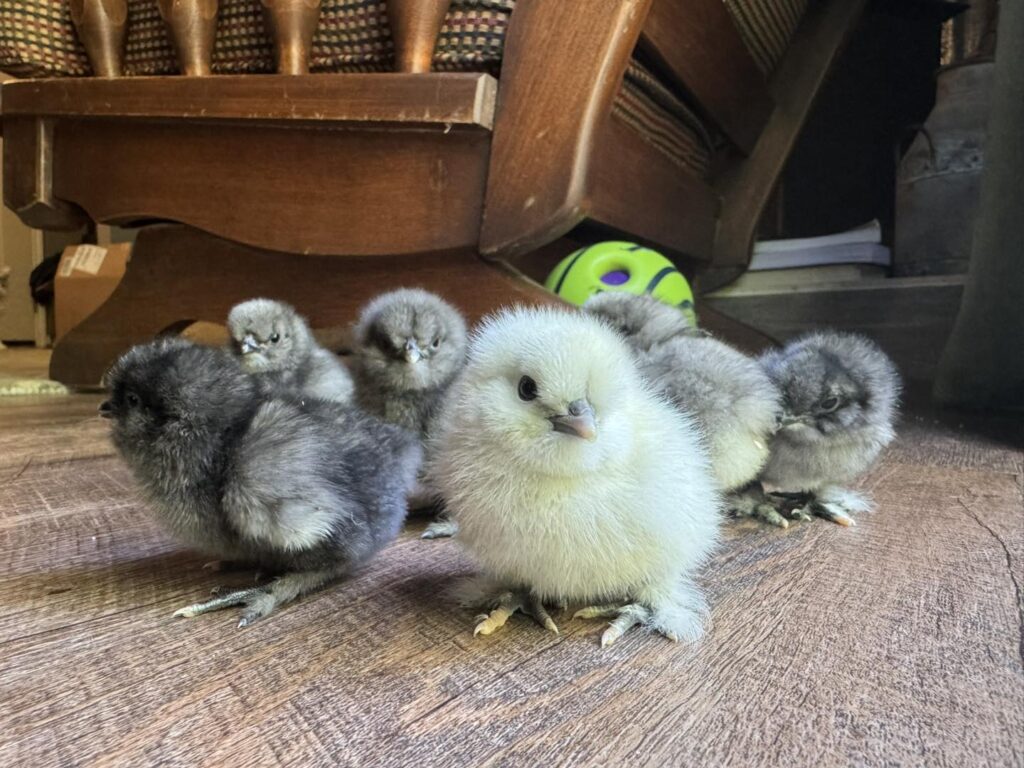
There’s nothing quite like the peeping of day-old chicks to make your heart skip a beat. Whether you’re starting your first backyard flock or adding to your homestead, those tiny balls of fluff need special care in their early days to grow into healthy, happy hens (or roos!). Here’s a simple guide to raising your chicks from day one until they’re ready to join the rest of the flock.
🐣 Bringing Home Day-Old Chicks: What You’ll Need
Before your chicks arrive, make sure you’ve got their brooder set up and ready to go. A brooder is a safe, warm space that mimics the comfort of a mother hen.
Brooder Basics:
• Space: A plastic tote, large cardboard box, or livestock water trough works great.
• Bedding: Use pine shavings (avoid cedar). Paper towels can be laid over bedding for the first few days to help them find their food.
• Heat source: A heat lamp or brooder plate to keep the temperature around 95°F (35°C) the first week.
• Feeder & Waterer: Use chick-sized versions to prevent spills and keep everything clean.
• Chick Starter Feed: Go with a medicated or non-medicated chick starter, depending on your preference.
🌡️ Warmth is Everything (Literally)
Chicks can’t regulate their body temp when they’re first born, so they rely on you to keep things cozy.
Temperature Guide by Week:
• Week 1: 95°F
• Week 2: 90°F
• Week 3: 85°F
• Week 4: 80°F
• Week 5: 75°F
• Week 6: 70°F
Keep an eye on your chicks. If they’re huddled together under the lamp, they’re cold. If they’re as far away from the heat as possible, they’re too hot. Spread out and peeping contently? You’re golden.
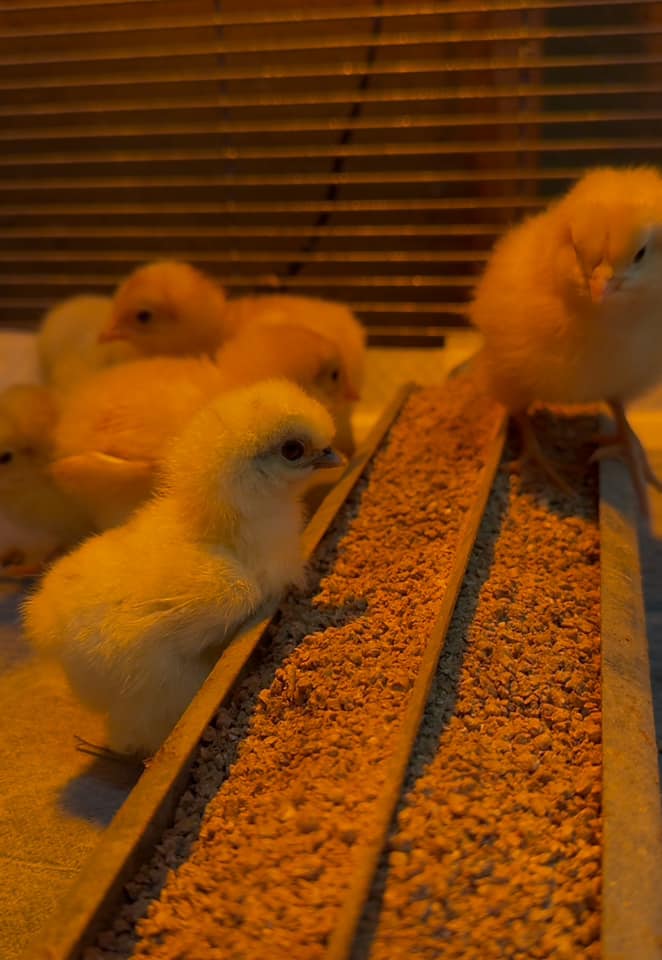
🥣 Feeding and Watering Tips
Use a chick starter feed with 18-20% protein for the first 6-8 weeks. Always provide fresh water, and for the first couple of days, add an electrolyte booster to their water to give them an energy kick after hatching stress. Read the packet or bottle for proper dosing.
Tip: Dip their beaks in the water dish when you first place them in the brooder so they learn to drink.
💩 Keep It Clean
Chicks are messy, and a dirty brooder can lead to illness. Change bedding regularly and wipe down feeders and waterers daily. Watch for pasty butt (yep, it’s a thing)—a blockage of poop on their backside. Gently clean it with warm water if you see it. One thing we learned ages ago was after cleaning dot their bottom with a cotton swab covered in olive oil and it does exceptionally well at preventing it from reoccurring.
🐥 Socializing and Handling
Handle your chicks gently and often to get them used to people. This helps them grow into friendly, manageable birds. Just don’t overstimulate them—short and sweet is best in the early days.
🏡 When Can They Join the Flock?
Chicks can usually join the rest of your flock at 6-8 weeks old, once they’re fully feathered and the weather is mild (above 65°F consistently).
Before integrating:
• Let them see the older hens through a fence for a week or so.
• Watch for signs of aggression.
• Add distractions (extra feeders, treats) to prevent bullying.
It’s a slow introduction—think of it like chicken dating. A little distance and curiosity before they go steady.
Final Thoughts:
Raising chicks is one of the sweetest parts of farm life. It’s a little work, a lot of love, and totally worth it when you see those fluffballs turn into proud, clucking hens. Follow their cues, keep them warm and fed, and you’ll be well on your way to a thriving flock.
Got more questions or want to see our little chicks in action? Follow along on TikTok/Youtube/Facebook @Smithcreekfarmstead for real-time updates, farm life tips, and behind-the-scenes cuteness from our flock to yours.
Here’s to being Chicken Tenders!
-Smith Creek Farmstead Family
-
Goat Milk Soap vs. Store-Bought Soap: What’s the Difference?
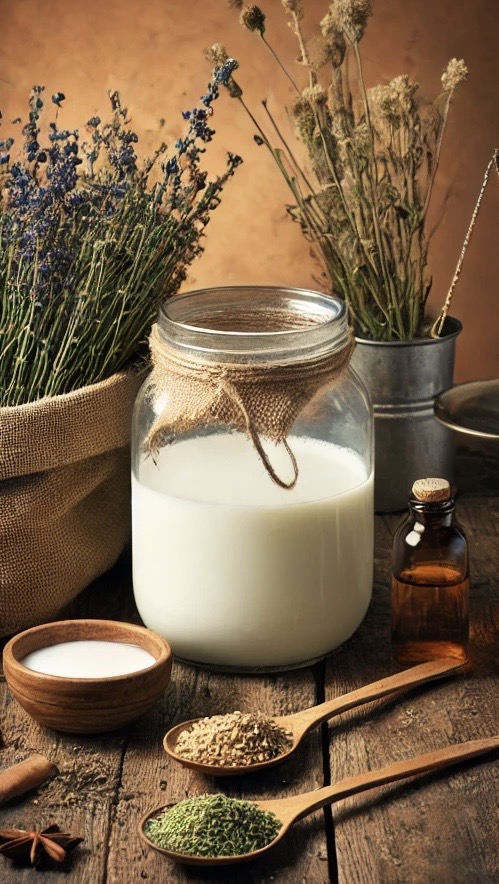
One of the most common questions we get is: What makes your goat milk soap different from the stuff at the store? It’s a great question, and the answer comes down to ingredients, process, and skin benefits.
1. The Ingredients Matter
Most store-bought soaps aren’t actually soap—they’re detergents made with harsh chemicals, synthetic fragrances, and preservatives. These ingredients can strip your skin of its natural oils, leaving it dry and irritated. Our goat milk soap, on the other hand, is made with fresh, raw goat milk, nourishing oils, and herbs we grow ourselves. Instead of artificial fragrances, we use only essential oils, giving you a natural, skin-loving experience without unnecessary chemicals.
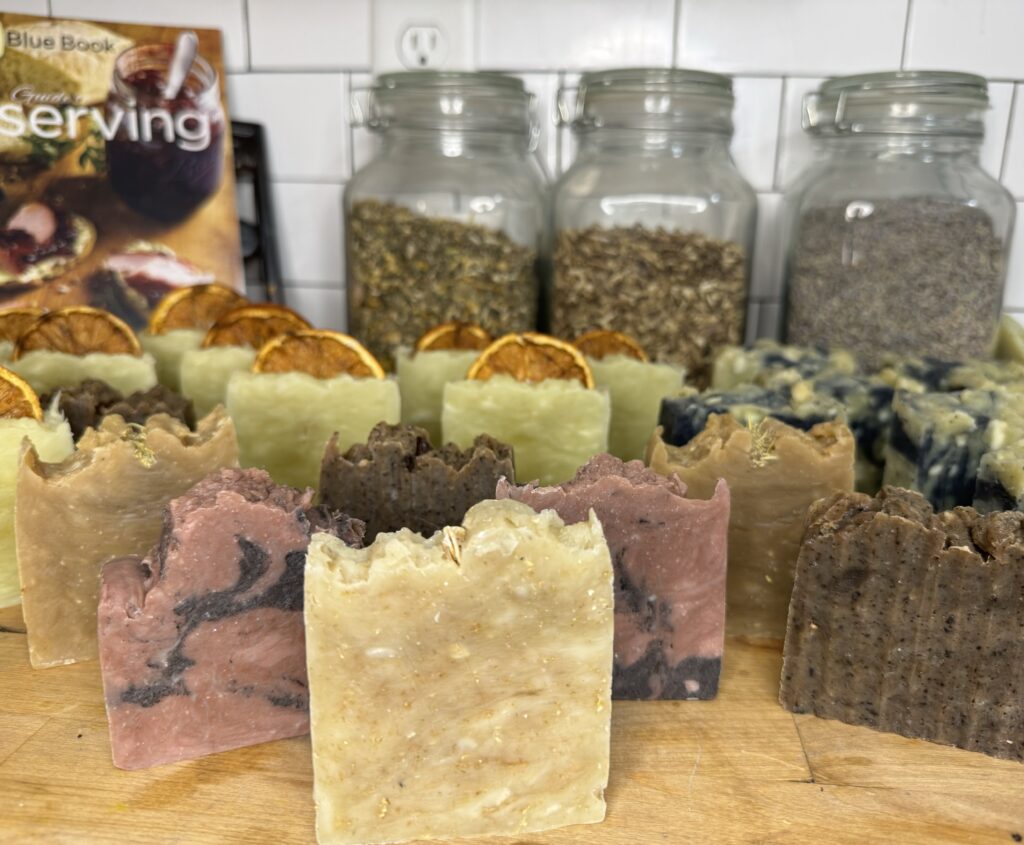
2. Handmade vs. Mass-Produced
Big brands prioritize production speed and shelf life, which often means sacrificing quality. Our soaps are handcrafted in small batches, allowing us to control the ingredients and preserve the benefits of goat milk and herbs. Each bar is carefully cured to ensure a gentle, long-lasting lather that nourishes your skin rather than drying it out.
3. Skin Benefits of Goat Milk
Goat milk is packed with vitamins (like A, D, and B6), lactic acid for gentle exfoliation, and fatty acids that help maintain your skin’s moisture barrier. Many customers with sensitive skin, eczema, or dryness notice a huge difference when switching to our soap. Instead of feeling tight and stripped after washing, your skin feels soft, hydrated, and soothed.
Try the Difference for Yourself—At a Discount!
If you’ve been using store-bought soap and struggling with dryness or irritation, it might be time to make the switch. Our small-batch, herbal-infused goat milk soaps are made with love, care, and ingredients your skin will thank you for.
-
How to Hatch Your Own Eggs: A Beginners Guide for Success
There’s nothing quite like the excitement of watching a tiny chick break free from its shell! Hatching your own chicken eggs is a rewarding experience, whether you’re looking to start a backyard flock or just enjoy the magic of new life. In this guide, we’ll walk you through the basics of hatching chicken eggs and highlight the differences when it comes to bantam breeds like Silkies.
Step 1: Choosing Your Eggs
If you don’t have a rooster, you’ll need to purchase fertile hatching eggs from a reputable source (like us!). Look for eggs that are clean, well-formed, and free of cracks. Avoid washing them, as this can remove the protective bloom that helps keep bacteria out.
Bantam vs. Standard-Sized Eggs:
Bantam breeds, like Silkies, lay smaller eggs than standard breeds, but the incubation process is largely the same—just keep in mind that bantam eggs may hatch a little sooner than larger ones.
Step 2: Setting Up Your Incubator
To successfully hatch chicks, you’ll need an incubator that allows you to control temperature and humidity.
✔ Temperature: 99.5°F (forced-air incubators) or 101-102°F (still-air incubators)
✔ Humidity: 50-55% for the first 18 days, then increase to 65-75% for lockdown (days 19-21)
✔ Egg Turning: Turn eggs at least three times a day (or use an automatic turner) to prevent the embryo from sticking to the shell. Stop turning on day 18.
Bantam Differences:
Silkie and other bantam eggs may hatch a day or two earlier than standard breeds, so keep an eye on them starting around day 19. They are also more sensitive to humidity changes, so monitor levels closely.
Step 3: The Hatch Countdown
Chicken eggs typically hatch in 21 days, though bantams may pip a bit earlier. Here’s what to expect:
• Days 1-18: Turn eggs daily, maintain stable temperature and humidity.
• Day 18 (Lockdown Begins!): Stop turning the eggs and increase humidity. The chicks will begin positioning for hatching.
• Days 19-21: Watch for pipping (small cracks in the shell). The chick will “zip” around the shell before pushing out completely—don’t help unless absolutely necessary!
Step 4: After Hatching
Once your chicks hatch:
• Leave them in the incubator until they dry and fluff up (usually within 12-24 hours).
• Move them to a brooder with a heat source (95°F the first week, lowering by 5°F each week).
• Offer fresh water and chick starter feed immediately.
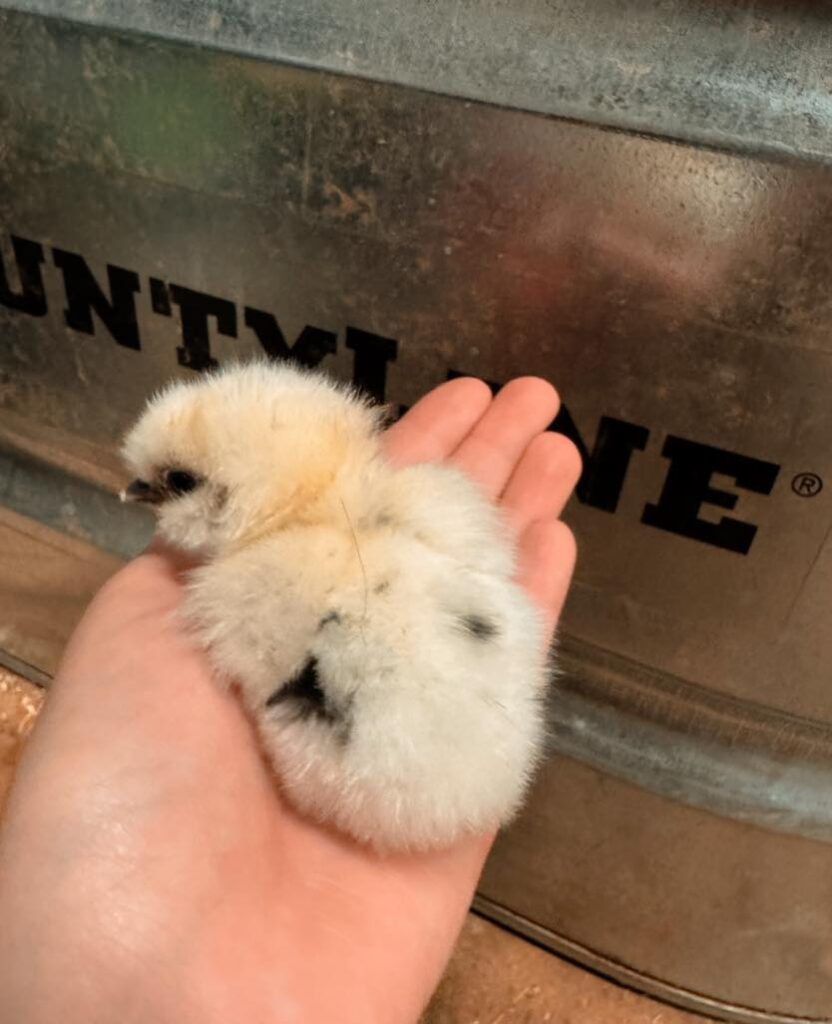
Silkie-Specific Notes:
Silkie chicks are more delicate than standard breeds and may need extra warmth and care. They also have feathered feet, which can get messy, so keep their brooder dry and clean!
Got questions or need advice? Drop them in the comments—we love helping fellow chicken enthusiasts!
#HatchingEggs #BackyardChickens #SilkieChicks #FarmLife #Homesteading
-
Why Goat Milk Soap is a Game-Changer for Dry Winter Skin
Winter can be brutal on your skin—cold winds, indoor heating, and low humidity all work together to zap moisture, leaving your skin dry, itchy, and irritated. If you’ve been slathering on lotion but still feel like a walking desert, it might be time to take a closer look at your soap.
Most commercial soaps are packed with harsh detergents, synthetic fragrances, and preservatives that strip your skin of its natural oils. But there’s a better way to cleanse: goat milk soap. This natural, nutrient-rich alternative isn’t just gentle—it actively nourishes and hydrates your skin, making it the perfect choice for the winter months. Here’s why.
1. Deep Hydration from Natural Creams
Goat milk is naturally high in fatty acids and triglycerides, which help replenish the skin’s moisture barrier. Unlike water-based soaps that can leave your skin feeling tight, goat milk soap is creamy and rich, providing hydration with every wash.
2. Packed with Skin-Loving Vitamins
Goat milk is full of vitamin A, which is known for its ability to promote skin cell turnover and repair. It also contains B vitamins, vitamin D, and vitamin E, all of which contribute to healthy, glowing skin. In winter, when skin tends to become dull and flaky, these vitamins work overtime to restore balance.
3. Gentle, Natural Exfoliation
One of goat milk’s secret weapons is lactic acid, a natural AHA (alpha hydroxy acid) that gently exfoliates dead skin cells. This helps your skin absorb moisture more effectively and keeps it feeling soft and smooth, even in the driest months. No harsh scrubs necessary!
4. Soothes Sensitive & Irritated Skin
If you struggle with eczema, psoriasis, or winter-induced redness, goat milk soap can be a game-changer. The natural fats and proteins help to calm inflammation, while the lack of synthetic chemicals means fewer irritants for sensitive skin.
5. Free from Harsh Detergents & Synthetic Junk
Most commercial soaps contain SLS (sodium lauryl sulfate) and other detergents that strip your skin’s natural oils, making dryness worse. Goat milk soap is different—it cleanses while maintaining your skin’s protective barrier, meaning less itchiness, less flaking, and more comfort.
6. Naturally Balanced pH for Happy Skin
Goat milk has a pH level that closely matches human skin, which means it won’t disrupt your skin’s natural microbiome. This helps maintain moisture, reduces irritation, and keeps your skin balanced—something we all need in the winter!
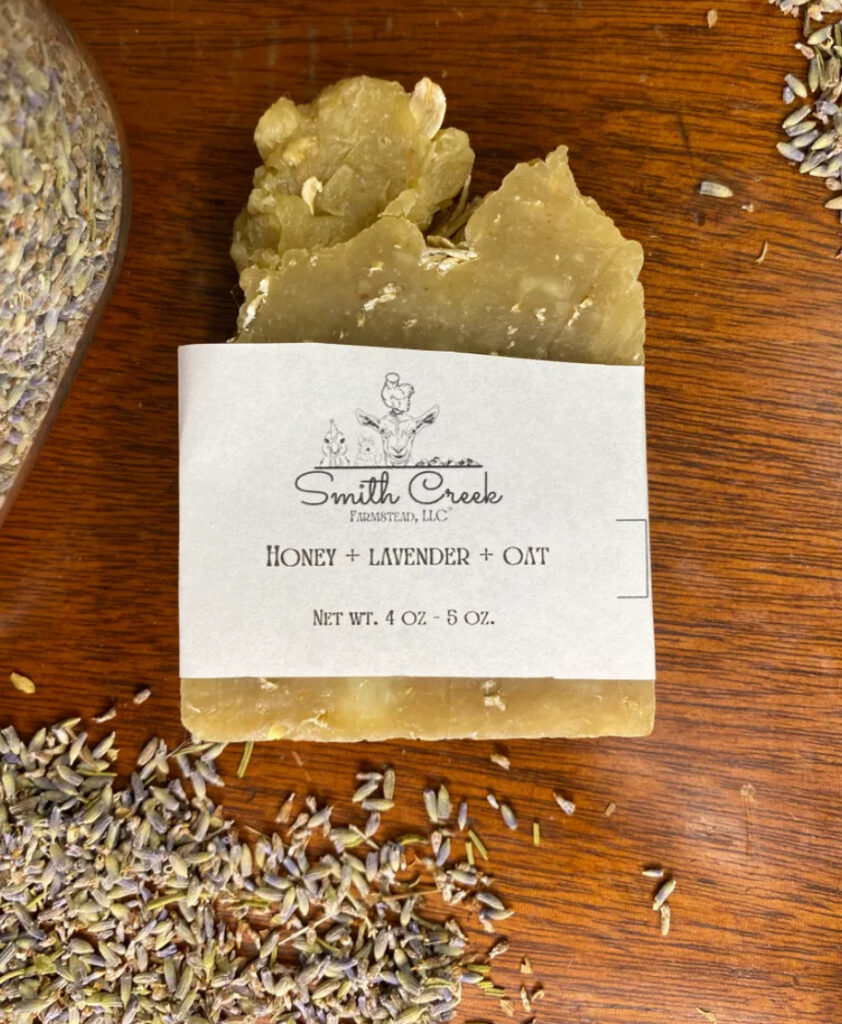
Our Winter Skincare Favorite: Honey Lavender Oat Goat Milk Soap
For the ultimate winter skin relief, we recommend our Honey Lavender Oat Goat Milk Soap—a soothing blend of raw honey, calming lavender essential oil, and finely ground oats.
• Honey is a natural humectant, meaning it draws moisture into your skin and locks it in. Perfect for combatting that dry, tight feeling winter brings.
• Lavender essential oil not only smells like a dream but also helps calm irritation and inflammation, making it great for sensitive or dry skin.
• Oats provide gentle exfoliation and help soothe itchy, irritated skin—like a cozy oatmeal bath in bar form.
This bar lathers up into a creamy, nourishing cleanse that leaves your skin soft, supple, and hydrated—without the need for extra lotion.
Make the Switch to Goat Milk Soap This Winter
If you’re tired of battling dry skin every winter, switching to a handmade, all-natural goat milk soap could be the simple change your routine needs. Our soaps are crafted with farm-fresh goat milk, homegrown herbs, and pure essential oils to give your skin the love it deserves.
Try our Honey Lavender Oat Goat Milk Soap today and experience the winter skincare upgrade for yourself!