You must be logged in to view this content.
Category: Uncategorized
-
Luffa Soap Recipe
You must be logged in to view this content.
-
Green Tea Soap Recipe
You must be logged in to view this content.
-
Pink Himalayan Salt Soap Recipe
You must be logged in to view this content.
-
Why Goat Milk Soap is a Game-Changer for Dry Winter Skin
Winter can be brutal on your skin—cold winds, indoor heating, and low humidity all work together to zap moisture, leaving your skin dry, itchy, and irritated. If you’ve been slathering on lotion but still feel like a walking desert, it might be time to take a closer look at your soap.
Most commercial soaps are packed with harsh detergents, synthetic fragrances, and preservatives that strip your skin of its natural oils. But there’s a better way to cleanse: goat milk soap. This natural, nutrient-rich alternative isn’t just gentle—it actively nourishes and hydrates your skin, making it the perfect choice for the winter months. Here’s why.
1. Deep Hydration from Natural Creams
Goat milk is naturally high in fatty acids and triglycerides, which help replenish the skin’s moisture barrier. Unlike water-based soaps that can leave your skin feeling tight, goat milk soap is creamy and rich, providing hydration with every wash.
2. Packed with Skin-Loving Vitamins
Goat milk is full of vitamin A, which is known for its ability to promote skin cell turnover and repair. It also contains B vitamins, vitamin D, and vitamin E, all of which contribute to healthy, glowing skin. In winter, when skin tends to become dull and flaky, these vitamins work overtime to restore balance.
3. Gentle, Natural Exfoliation
One of goat milk’s secret weapons is lactic acid, a natural AHA (alpha hydroxy acid) that gently exfoliates dead skin cells. This helps your skin absorb moisture more effectively and keeps it feeling soft and smooth, even in the driest months. No harsh scrubs necessary!
4. Soothes Sensitive & Irritated Skin
If you struggle with eczema, psoriasis, or winter-induced redness, goat milk soap can be a game-changer. The natural fats and proteins help to calm inflammation, while the lack of synthetic chemicals means fewer irritants for sensitive skin.
5. Free from Harsh Detergents & Synthetic Junk
Most commercial soaps contain SLS (sodium lauryl sulfate) and other detergents that strip your skin’s natural oils, making dryness worse. Goat milk soap is different—it cleanses while maintaining your skin’s protective barrier, meaning less itchiness, less flaking, and more comfort.
6. Naturally Balanced pH for Happy Skin
Goat milk has a pH level that closely matches human skin, which means it won’t disrupt your skin’s natural microbiome. This helps maintain moisture, reduces irritation, and keeps your skin balanced—something we all need in the winter!
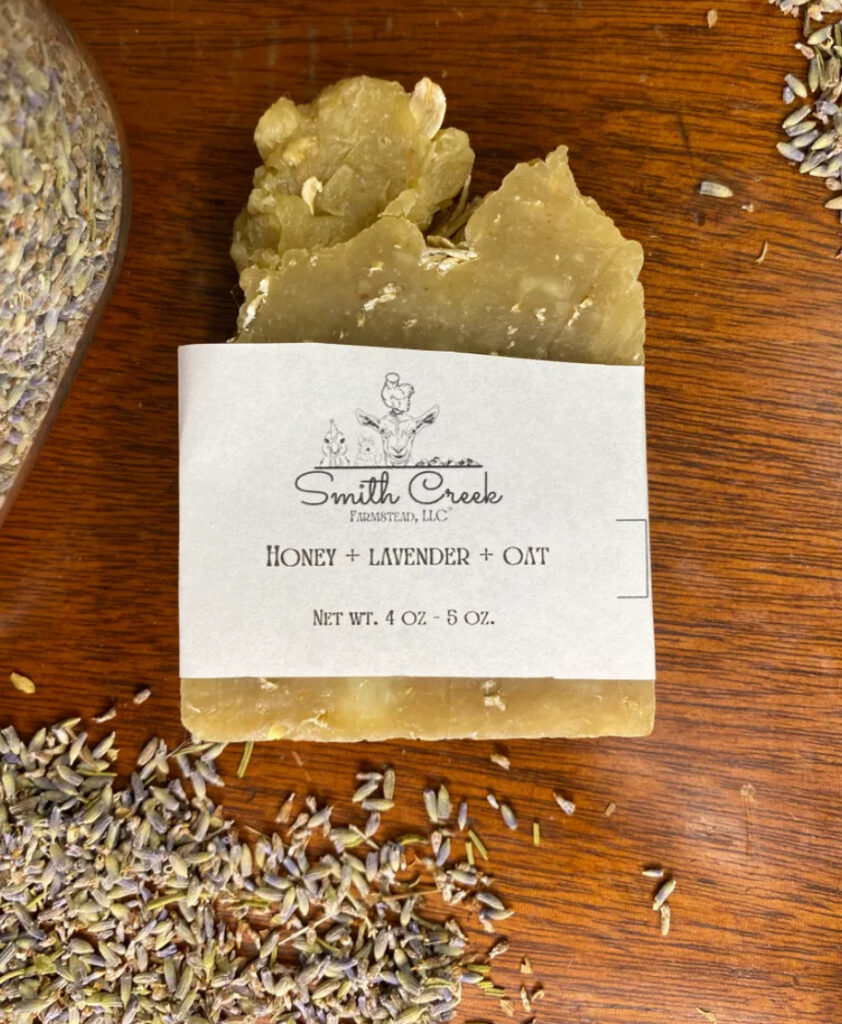
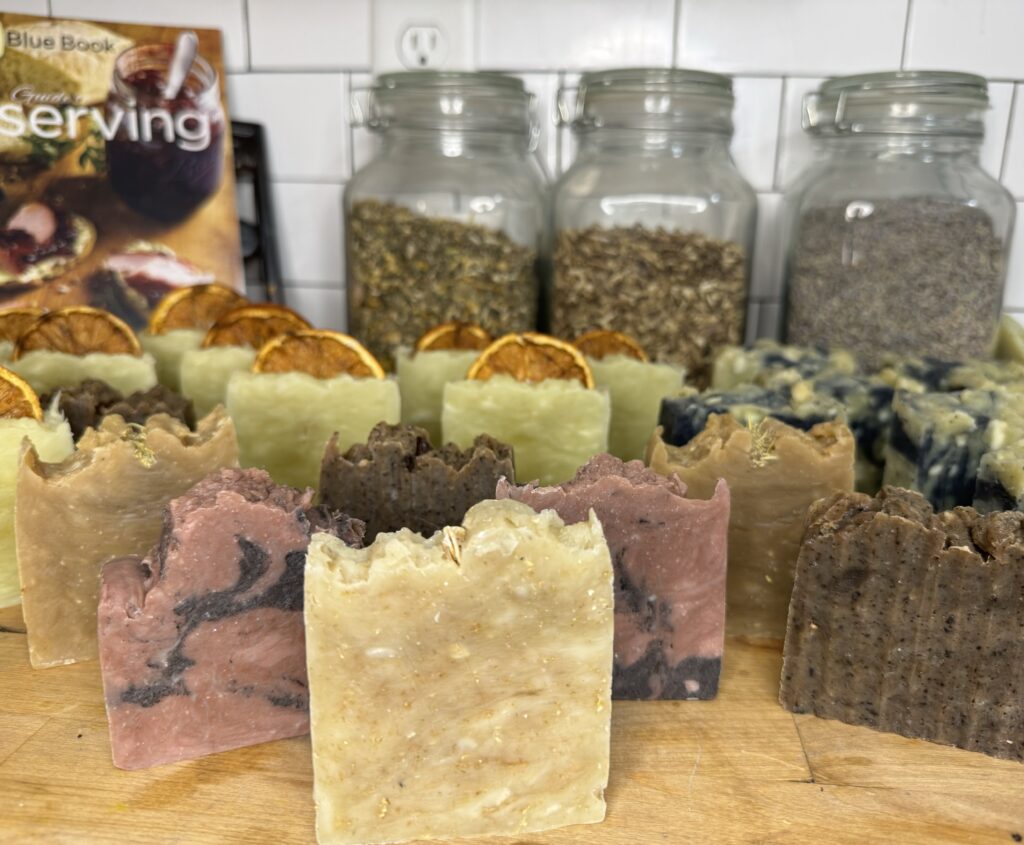
Our Winter Skincare Favorite: Honey Lavender Oat Goat Milk Soap
For the ultimate winter skin relief, we recommend our Honey Lavender Oat Goat Milk Soap—a soothing blend of raw honey, calming lavender essential oil, and finely ground oats.
• Honey is a natural humectant, meaning it draws moisture into your skin and locks it in. Perfect for combatting that dry, tight feeling winter brings.
• Lavender essential oil not only smells like a dream but also helps calm irritation and inflammation, making it great for sensitive or dry skin.
• Oats provide gentle exfoliation and help soothe itchy, irritated skin—like a cozy oatmeal bath in bar form.
This bar lathers up into a creamy, nourishing cleanse that leaves your skin soft, supple, and hydrated—without the need for extra lotion.
Make the Switch to Goat Milk Soap This Winter
If you’re tired of battling dry skin every winter, switching to a handmade, all-natural goat milk soap could be the simple change your routine needs. Our soaps are crafted with farm-fresh goat milk, homegrown herbs, and pure essential oils to give your skin the love it deserves.
Try our Honey Lavender Oat Goat Milk Soap today and experience the winter skincare upgrade for yourself!
-
How to Make Chicken Bone Broth in a Roaster Oven
There’s nothing quite as satisfying as making your own chicken bone broth—especially when it’s slow-cooked to perfection in a roaster oven. This method allows you to extract all the goodness from bones and veggie scraps while keeping your stovetop free for other projects. Bone broth is not only comforting and flavorful but also packed with nutrients that support gut health, joint health, and immunity. Plus, it’s an excellent way to reduce food waste!
Here’s how to turn your chicken bones and vegetable scraps into a nourishing broth.
What You’ll Need
• Chicken Bones: Use the carcass from a whole roasted chicken or the bones from raw chicken. If you’re making this from scratch, roast a whole chicken and save the bones for the broth.
• Vegetable Scraps: Onion peels, celery tops, carrot ends, garlic skins, and herbs (like parsley or thyme) are all fair game. Keep a freezer bag for scraps and add to it over time.
• Optional Extras: A splash of apple cider vinegar (helps draw minerals from the bones), salt, peppercorns, and bay leaves for flavor.
• Water: Enough to cover everything in the roaster.
Step-by-Step Instructions
Step 1: Prep the Ingredients
1. Gather your bones: If using a whole chicken, remove most of the meat (save it for another dish), but don’t worry about being meticulous. A little leftover meat or skin will add flavor.
2. Sort your vegetable scraps: Avoid overly strong flavors like broccoli or cabbage, which can make the broth bitter. Stick with mild, aromatic vegetables like carrots, celery, onions, and garlic.
Step 2: Assemble in the Roaster Oven
1. Place the chicken bones and vegetable scraps into the roaster.
2. Add any optional seasonings like bay leaves, peppercorns, or a few sprigs of fresh herbs.
3. Pour in a splash (1-2 tablespoons) of apple cider vinegar. This helps extract minerals from the bones as they cook.
4. Cover everything with cold water, leaving a few inches of space at the top.
Step 3: Cook Low and Slow
1. Set your roaster oven to 400F until you notice bubbling, then lower the temp to 250-350F.
2. Cover the roaster with its lid and let the broth cook for 24-30 hours. Longer cook times result in a richer, more nutrient-dense broth.
3. Check occasionally to ensure the water level hasn’t dropped too low. Add hot water if needed to keep the bones and veggies submerged.
Step 4: Strain and Store
1. Once the broth has reached your desired richness (it should be golden and fragrant), turn off the roaster and let it cool slightly.
2. Use a slotted spoon to remove large bones and vegetables. Then pour the broth through a fine-mesh strainer into a large bowl or pot to remove any remaining solids.
3. Let the broth cool completely. Skim off any fat that solidifies on the top if desired.
Storage Tips
• Refrigerator: Store broth in mason jars or airtight containers for up to a week.
• Freezer: Pour cooled broth into freezer-safe containers, leaving room for expansion, or freeze in ice cube trays for smaller portions. Frozen broth will keep for 6-12 months.
Ways to Use Your Bone Broth
• Sip it warm from a mug for a comforting drink.
• Use it as a base for soups, stews, and sauces.
• Cook grains like rice or quinoa in broth for added flavor and nutrition.
Pro Tips
• For an extra gelatinous broth, include chicken feet or wings, as they’re rich in collagen.
• Roast raw bones and vegetables in the oven at 400°F for 30-40 minutes before adding them to the roaster for a deeper flavor.
Making chicken bone broth in a roaster oven is an easy, hands-off way to create a nutrient-packed staple for your kitchen. It’s a great way to use what you already have while filling your home with the cozy, savory aroma of slow-simmered broth. Once you make it this way, you’ll never want to go back to store-bought!
-
Cushaw Squash – Gardening your Heritage

Photo credit & thanks to Pops, Adam Wells Originally grown in the southwest, the green striped cushaw found its way into the gardens of many Appalachian homes throughout Kentucky and Tennessee. It is prized for its impressive size, sweet taste and its versatility in the kitchen. In my family, it was a staple growing up and there wasn’t a fall function without it served or used as decoration.
When we packed up everything and moved back to my husbands home state of Georgia, one thing my family sent us off with was a plethora of heirloom seeds. Among those ziploc bags and folded envelopes were some of my families beloved cushaw.
At first, we were nervous about growing them here in zone 8A, but with proper soil amendments we quickly realized the cushaw were fazed very little by the move. This fruit (yes, fruit!) is a variety of winter squash with a rather thick skin. And thanks to our warmer climate we have been able to start and grow them at least a month sooner than back in Kentucky. Which means even more pie!
Where I grew up nothing could top a good cushaw pie or baked sweet cushaw to REALLY set the mood for fall. A gourd most would overlook, my family and many other Appalachian natives decided to turn into a delicious seasonal favorite!

Our favorite pie recipe to make! Often referred to by many as the “Hillbilly Pumpkin” it has a similar composition and flavor as the typical pumpkin. In our house we use it as a 1:1 ratio in any recipe that calls for pumpkin and it always comes out wonderfully. Cushaws are loaded with minerals, carotene, vitamins A, vitamin B, and vitamin C, so you’re still getting many of the same benefits as a more typical squash choice.
Life is always throwing us big choices to make or curveballs to divert us from the path. And just like the cushaw, sometimes we just need some extra care to adjust to our new path. This squash is the perfect example of growing where you are planted. Whether it be in the heat of the Southwest, or the foothills of Appalachia the cushaw has grown through the generations and become part of our heritage. It is such a blessing to get to share this part of my heritage with my husband and his family all while spreading the knowledge of gardening through food!
Often times, our gardens can be our best teachers. Patience, dedication and resilience are just a few of the countless lessons to be learned from growing our own food. It is in these rows of greenery we find some of the best parts of ourselves and for me, the best place to thank my ancestors. It is through these saved seeds we can feed generations to come and share the joy of a garden grown pie.
The only question that remains is, what seeds will you save?
– Aubrey
-
Water Glassing Eggs: A Timeless Preservation Method
In the realm of food preservation techniques, egg water glassing stands out as a timeless method that combines simplicity with effectiveness. Dating back centuries, this method involves storing fresh eggs in a solution of pickling lime, creating a protective coating that extends their shelf life for months. In this guide, we’ll explore the process of water glassing eggs, along with its benefits and essential care tips.
Gather Your Supplies
- Fresh, unwashed eggs
- Pickling Lime ( we use Mrs Wages Pickling Lime)
- A clean, non-reactive container with a tight-fitting lid (glass or food-grade plastic). We use half gallon Mason Jars.
- Water (We have well water, but you can also use filtered water).
Inspect the Eggs:
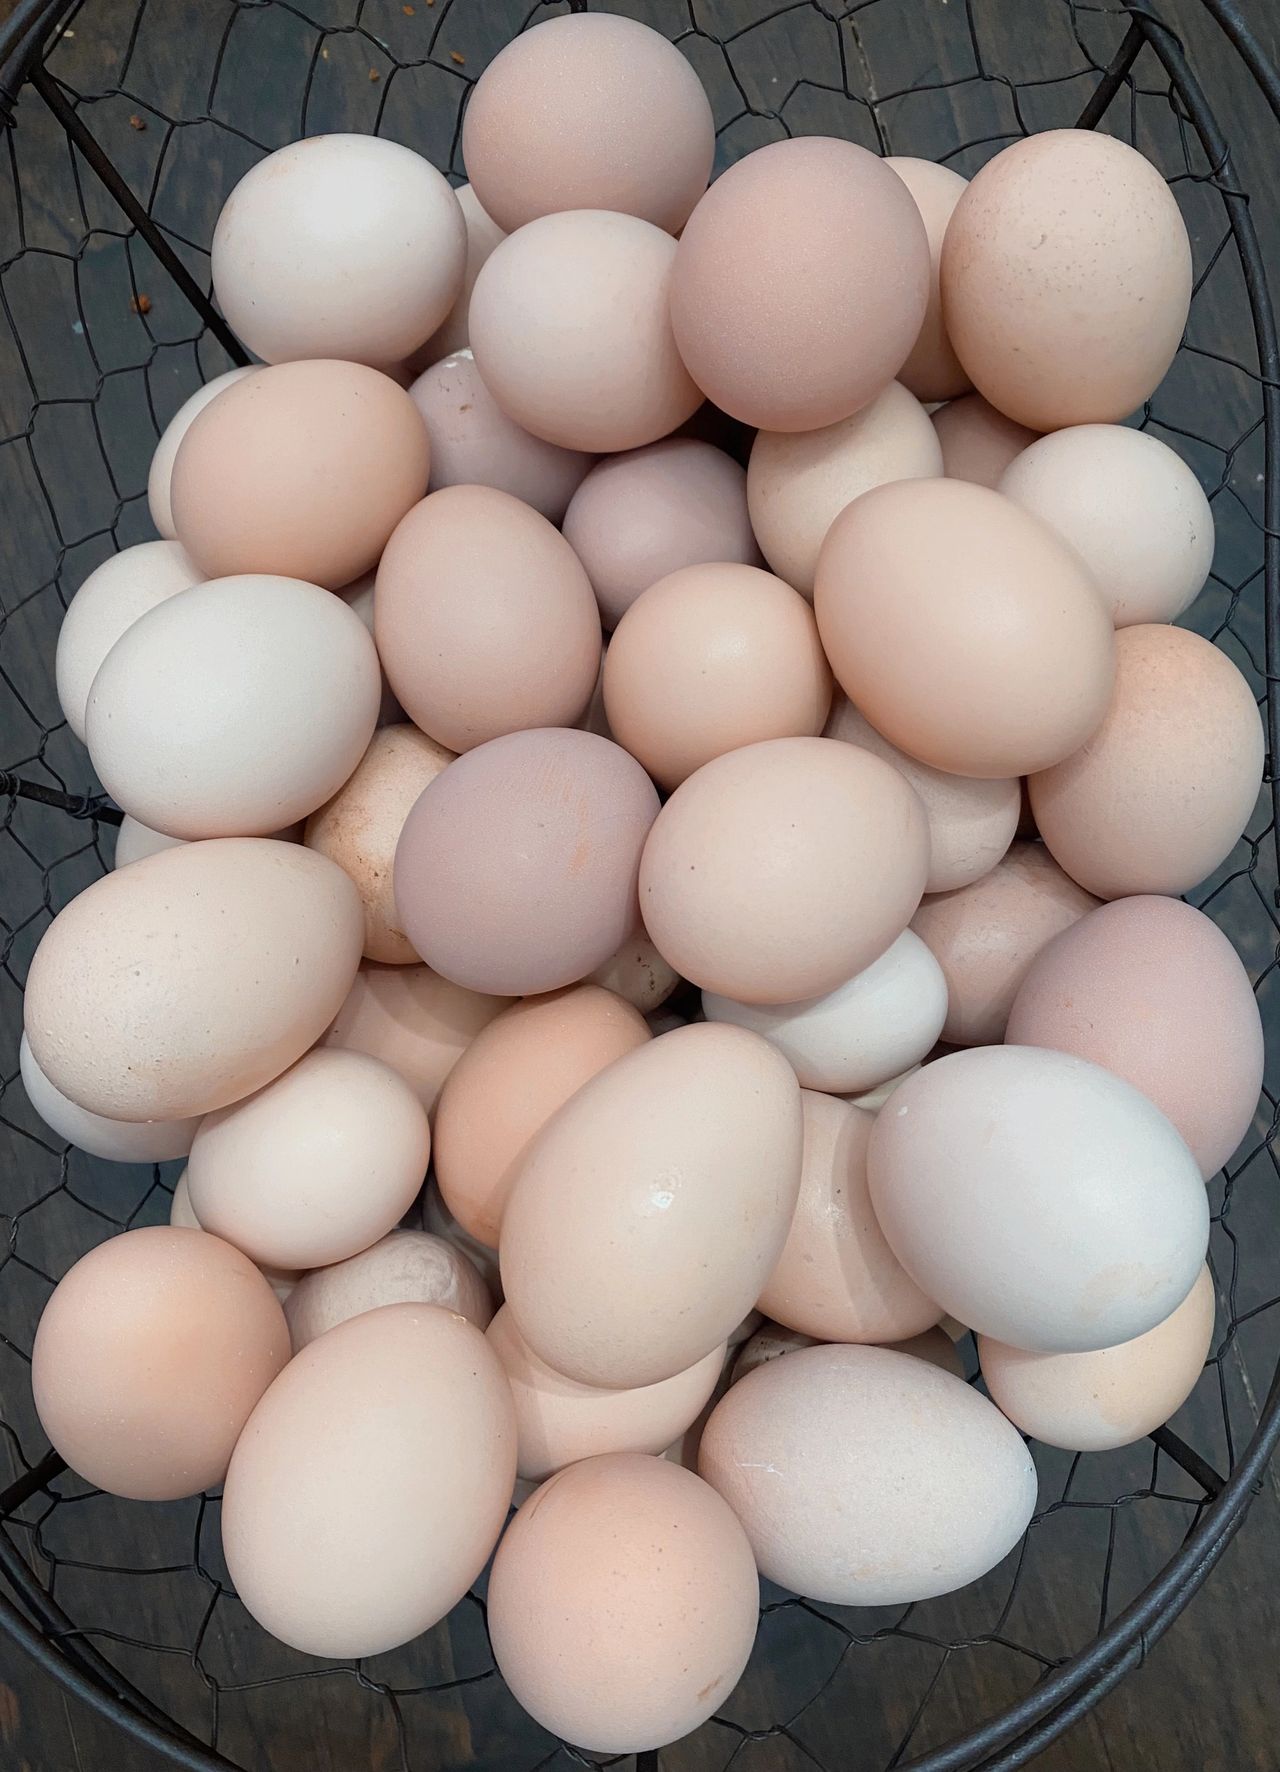
- Double check eggs for any cracks or damage.
- Do not use any that have excessive droppings that cannot be easily wiped off.
- Avoid washing the eggs, as this removes the protective bloom on the shell. Instead, gently wipe them with a dry cloth if needed.
Prepare the Solution:
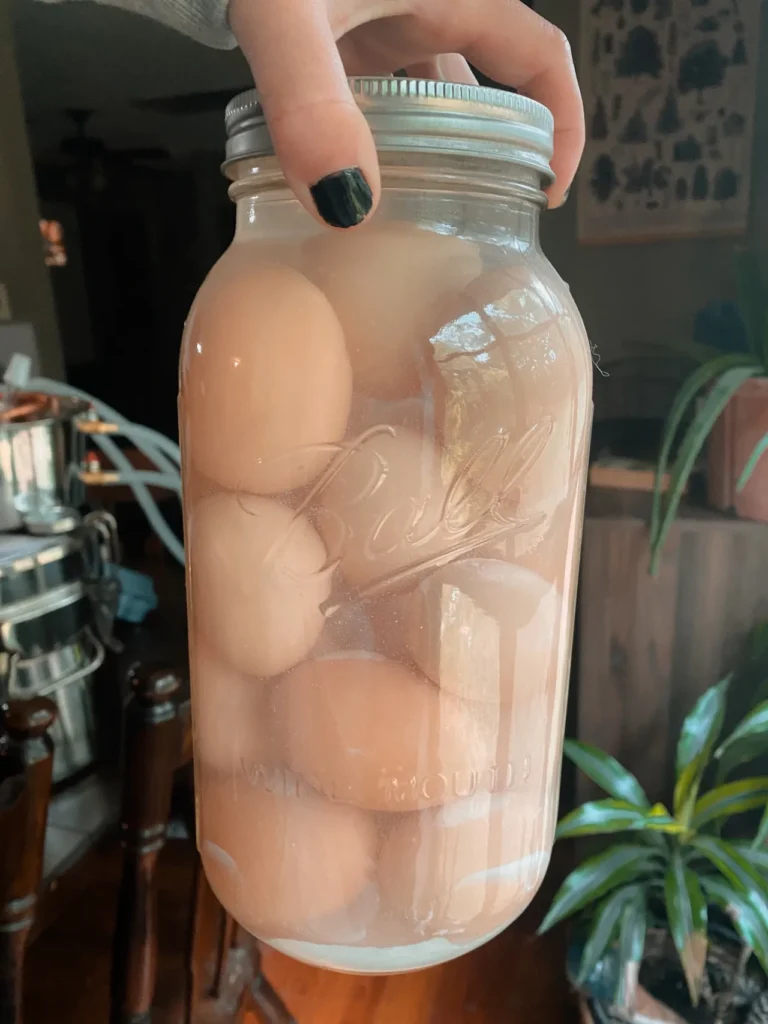
Seal and Store:
- Secure the lid tightly on the container to prevent evaporation and contamination.
- Store the container in a cool, dark place, such as a cellar or refrigerator for one year or up to 18 months!
- For each 1/2 gallon jar, fill with 1 quart of lime water. Use the ratio of 1 quart of filtered water to 1 ounce of pickling lime by weight. Mix well.
Benefits of Water Glassing Eggs:
- Prolonged Shelf Life: Water glassing creates a protective barrier around the eggs, preventing air and bacteria from penetrating the shell. This extends their freshness and viability for several months, making it an ideal method for preserving surplus eggs.
- Cost-Effective Preservation: Water glassing is a budget-friendly alternative to other preservation methods, requiring minimal investment in supplies and equipment. With proper storage, water-glassed eggs can last for months without the need for refrigeration.
- Nutrient Retention: Unlike some preservation techniques that can compromise the nutritional content of food, water glassing preserves the integrity of the eggs’ nutrients, including protein, vitamins, and minerals.
- Versatility: Water glassing is not limited to chicken eggs; it can also be used to preserve eggs from ducks, geese, and other poultry. This versatility makes it a valuable tool for homesteaders and backyard poultry enthusiasts.
Care and Handling Tips:
- Label the container with the date of preservation to track freshness.
- Before consuming water-glassed eggs, perform the float test to ensure they are still fresh. Discard any eggs that float, as this may indicate spoilage.
Water glassing eggs offers a simple yet effective way to extend the shelf life of fresh eggs, allowing you to enjoy their nutritional benefits for months to come. By following the steps outlined in this guide and incorporating proper care and handling practices, you can harness the power of water glassing to preserve your bounty of eggs with confidence and ease.


