There’s nothing quite as satisfying as making your own chicken bone broth—especially when it’s slow-cooked to perfection in a roaster oven. This method allows you to extract all the goodness from bones and veggie scraps while keeping your stovetop free for other projects. Bone broth is not only comforting and flavorful but also packed with nutrients that support gut health, joint health, and immunity. Plus, it’s an excellent way to reduce food waste!
Here’s how to turn your chicken bones and vegetable scraps into a nourishing broth.
What You’ll Need
• Chicken Bones: Use the carcass from a whole roasted chicken or the bones from raw chicken. If you’re making this from scratch, roast a whole chicken and save the bones for the broth.
• Vegetable Scraps: Onion peels, celery tops, carrot ends, garlic skins, and herbs (like parsley or thyme) are all fair game. Keep a freezer bag for scraps and add to it over time.
• Optional Extras: A splash of apple cider vinegar (helps draw minerals from the bones), salt, peppercorns, and bay leaves for flavor.
• Water: Enough to cover everything in the roaster.
Step-by-Step Instructions
Step 1: Prep the Ingredients
1. Gather your bones: If using a whole chicken, remove most of the meat (save it for another dish), but don’t worry about being meticulous. A little leftover meat or skin will add flavor.
2. Sort your vegetable scraps: Avoid overly strong flavors like broccoli or cabbage, which can make the broth bitter. Stick with mild, aromatic vegetables like carrots, celery, onions, and garlic.
Step 2: Assemble in the Roaster Oven
1. Place the chicken bones and vegetable scraps into the roaster.
2. Add any optional seasonings like bay leaves, peppercorns, or a few sprigs of fresh herbs.
3. Pour in a splash (1-2 tablespoons) of apple cider vinegar. This helps extract minerals from the bones as they cook.
4. Cover everything with cold water, leaving a few inches of space at the top.
Step 3: Cook Low and Slow
1. Set your roaster oven to 400F until you notice bubbling, then lower the temp to 250-350F.
2. Cover the roaster with its lid and let the broth cook for 24-30 hours. Longer cook times result in a richer, more nutrient-dense broth.
3. Check occasionally to ensure the water level hasn’t dropped too low. Add hot water if needed to keep the bones and veggies submerged.
Step 4: Strain and Store
1. Once the broth has reached your desired richness (it should be golden and fragrant), turn off the roaster and let it cool slightly.
2. Use a slotted spoon to remove large bones and vegetables. Then pour the broth through a fine-mesh strainer into a large bowl or pot to remove any remaining solids.
3. Let the broth cool completely. Skim off any fat that solidifies on the top if desired.
Storage Tips
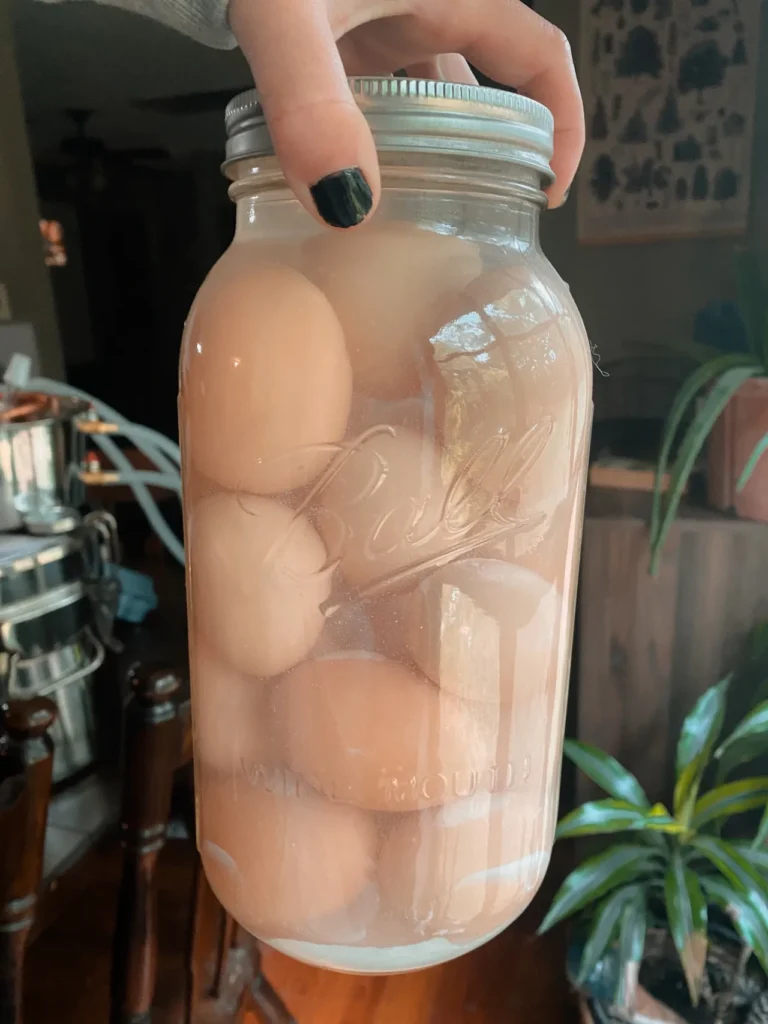
• Refrigerator: Store broth in mason jars or airtight containers for up to a week.
• Freezer: Pour cooled broth into freezer-safe containers, leaving room for expansion, or freeze in ice cube trays for smaller portions. Frozen broth will keep for 6-12 months.
Ways to Use Your Bone Broth
• Sip it warm from a mug for a comforting drink.
• Use it as a base for soups, stews, and sauces.
• Cook grains like rice or quinoa in broth for added flavor and nutrition.
Pro Tips
• For an extra gelatinous broth, include chicken feet or wings, as they’re rich in collagen.
• Roast raw bones and vegetables in the oven at 400°F for 30-40 minutes before adding them to the roaster for a deeper flavor.
Making chicken bone broth in a roaster oven is an easy, hands-off way to create a nutrient-packed staple for your kitchen. It’s a great way to use what you already have while filling your home with the cozy, savory aroma of slow-simmered broth. Once you make it this way, you’ll never want to go back to store-bought!